In this tutorial you will learn how to animate any values within Realflow to be controlled by audio files. The tutorial is made in Realflow 2012, but should also work with every other version of Realflow. No scripting needed.
Software used: Magix Music Maker 2013 Premium, Autodesk 3ds Max 2013, Nextlimit Realflow 2012
Let`s get started:
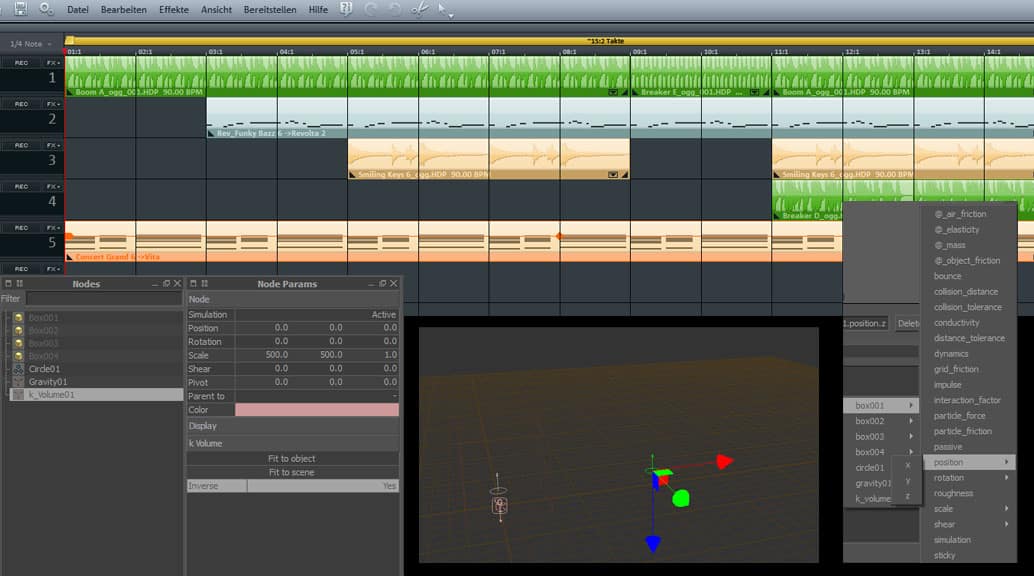
For this tutorial i have used multiple sound layers, made with Magix Music Maker 2013. You can also use one single soundfile, but you`ll have more flexibility, if you are able to split the soundfiles into single loops. I will not explain the workflow in Music Maker, you will find a lot of tutorials on youtube, vimeo, etc. Beside you can see the timeline of the sound i used for the tutorial. Export the individual audio-tracks into single soundfiles.
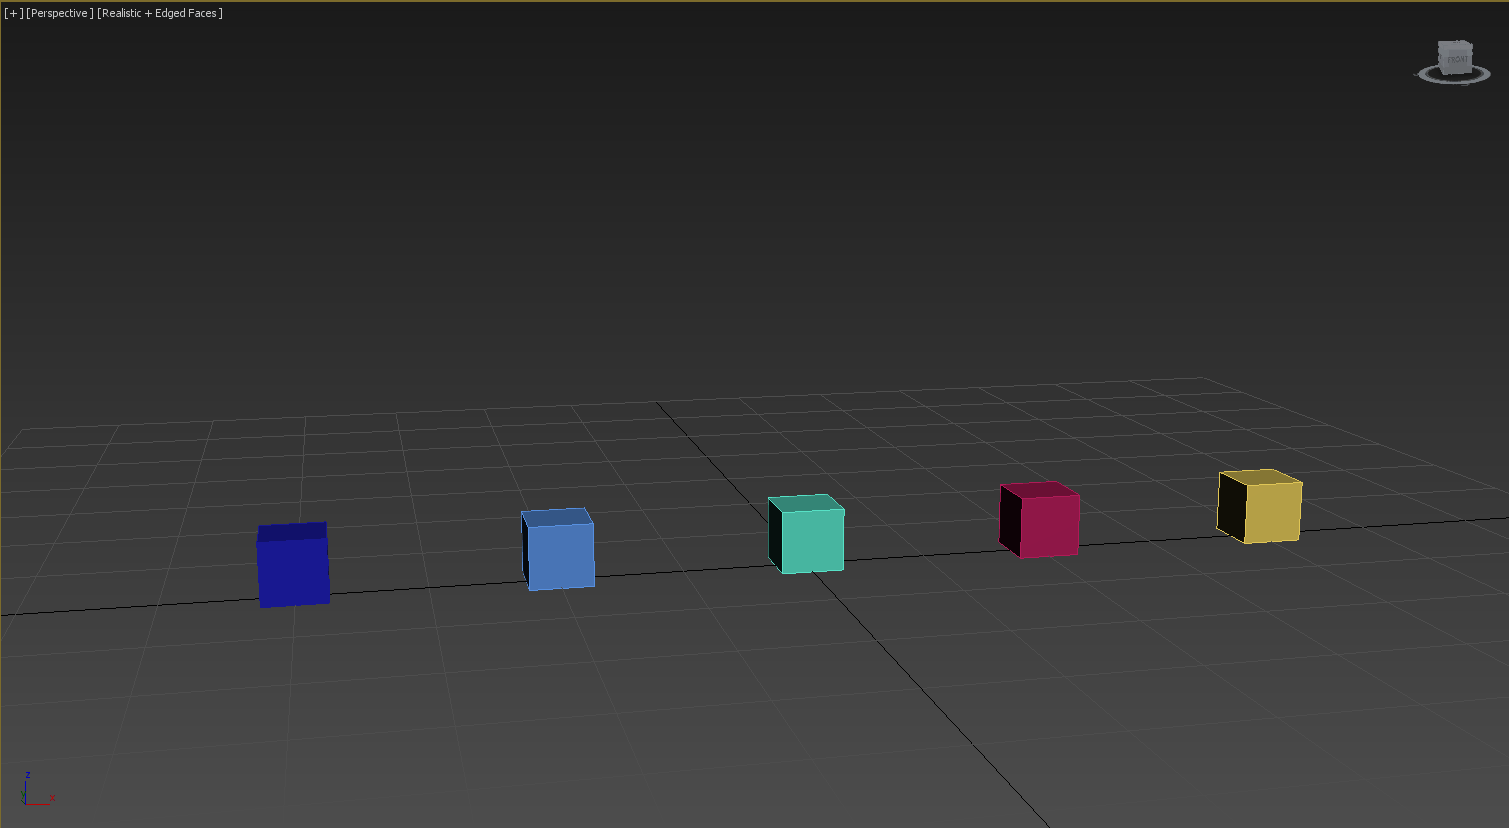
Open 3ds Max, create five cubes (the number of audio-tracks you`ll use) and position them next to each other.
Select one cube, go to motion-panel, select the cube`s z-position, go to „assign controller“ and choose „audio float“.
Choose your soundfile and set the „Max“ of „Controller Range“ to 100. Repeat these two steps for every single cube and select different soundfiles for each cube.
Hint: To playback sound-files in realtime, go to „Dope-Sheet-Editor“, double-click on sound and choose the file you want to playback.
Export the animated cubes to an sd-file.
Open Realflow and import the file.
We just need the postion of the cubes, so we can set them inactive. Also we have to activate „SD Curve“ to convert the transitions to a curve.
Create a circle-emitter and rotate it 180 degrees in the x-axis.
Add a „gravity-deamon“ and a „kVolume-deamon“. Scale up the kVolume to 500 in x and y and set „inverse“ to yes.
Select the circle-emitter, right click on „Speed“ and select „Open Curve“. You can enable the Curve Editor by pressing F8 or going to Layout-section in the main-menu.
On the bottom right of your curve editor click on „Insert“. Go to „D vars“ → „box001“ → „position“ → „z“. The emitter`s speed is now linked to the z-position of the first cube.
Make a copy of the circle-emitter and position it next to the first one. Go to „Speed“ and again right click and choose „Open Curve“.
In Curve Editor we now just have to change box001 to box002 in expressions-dialogue.
Repeat these steps until you have linked each box to an emitter, save your scene and click simulate.
Hints:
– Check your simulation framerates. Equalize the fps-settings for your 3D-program and realflow, otherwise you`ll get a shift between sound and animation.
– If the emitter`s speed is too high or low, go to your curve editor and multiply or divide your expression, so instead of writing „box001.position.z“ you can write „box001.position.z*2“ for example. This will multiply the amplitude by two.
– You can link almost every other parameter to the postion of the boxes.
If you have any questions, please feel free to contact us here.