In the following tutorial we want to show you how to fracture an object with a free script called „fracture voronoi“ and how to animate the fragments later with a Birth Script in PFlow. For the simulation we will use some standard forces and deflectors. If you have any questions please feel free to comment the blog or contact us here.
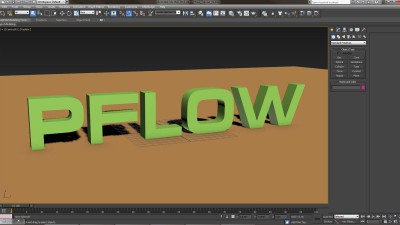
What we are going to create:
Let`s get started:
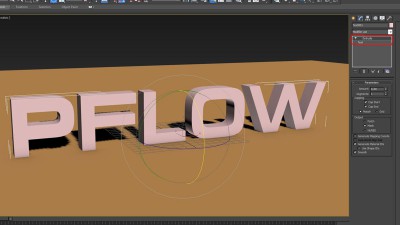
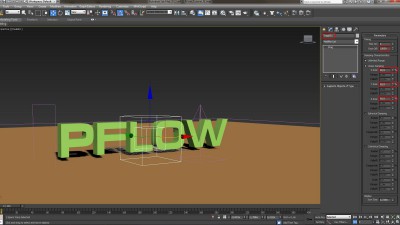
Step 1: Create a text object, rotate it 90 degrees in x-axis so it stands on the ground and apply an Extrude Modifier to give it some depth. Create a ground plane.
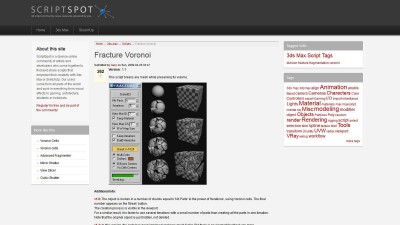
Step 2: Go to scriptspot and download the free script „fracture voronoi“: http://www.scriptspot.com/3ds-max/scripts/fracture-voronoi
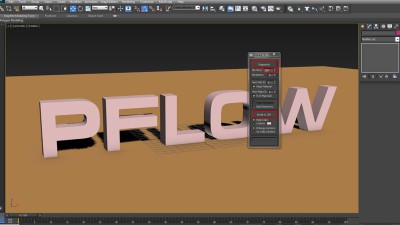
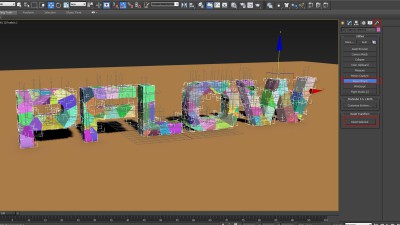
Step 3: Rename your text object to something like „fragments“. Important: No other object in your scene should use the same name. Drag the downloaded script into your viewport, click „Pick object“ and select your text object. Type in 200 for the Nb Parts and click on „Break in 200“ to fracture the text object. This will take a moment. Afterwards you can close the script.
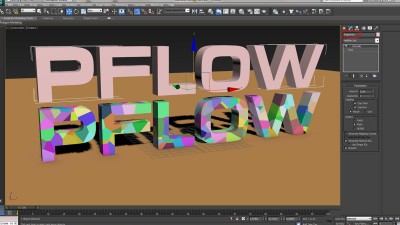
Step 4: Right-click in your viewport and choose „Unhide all“. Select your Source text object and delete it – so it won´t be a part of the simultion later.
Step 5: Click H on your keyboard to select from scene and choose all of the 200 fragment objects. Go to Hierarchy Panel, click on „Affect Pivot Only“ and center the pivots to their objects. This will make the objects rotate around their seperate axis later.
Step 6: With the fragment objects still selected go to Utilities Panel and click on „Reset Xform“. Then click on „Reset Selected“ to reset the objects transforms. Deselect all.
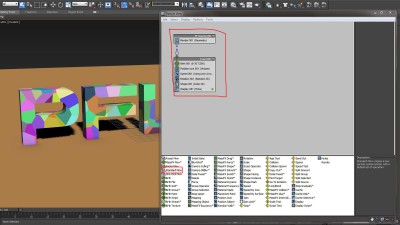
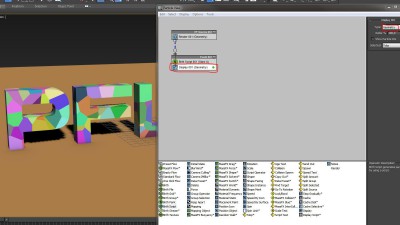
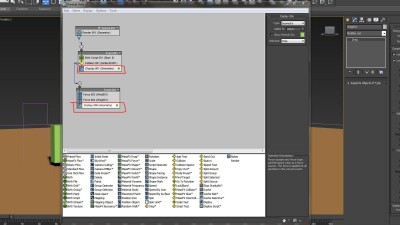
Step 7: Go to Particle View (6 on keyboard) and drag in a Standard Flow.
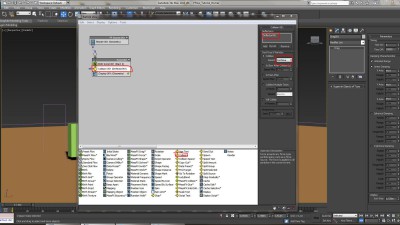
Step 8: Replace the Birth Operator with a Birth Script Operator. Delete the Position Icon, Speed, Rotation and Shape Operators.
Step 9: Set the Display Operator Type to „Geometry“.
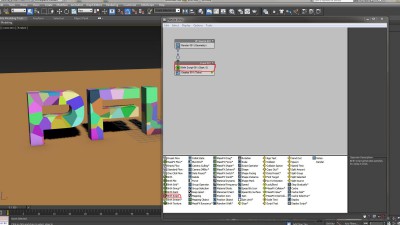
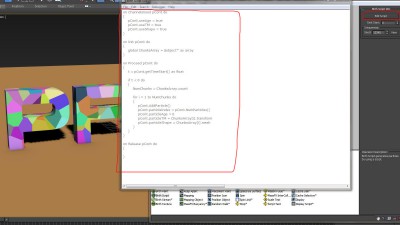
Step 10: Choose the Birth Script Operator and click on „Edit Script“. This will open a new window. Delete all of the text and paste in the following attached code: Birth Script (Source: http://www.scriptspot.com)
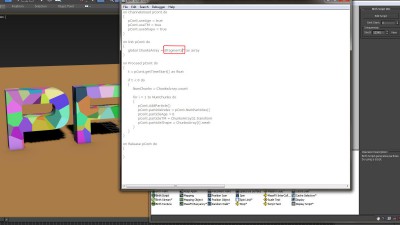
Step 11: In Script type in „fragments“ instead of „object“. This will tell the particle system to replace the objects in the scene called „fragments“ to be treated as particles. Save the script to disk and close it.
Step 12: Click H on your keyboard to select from scene, choose all of the 200 fragment objects and hide them. Don´t delete them – you will need them as reference objets in the simulation.
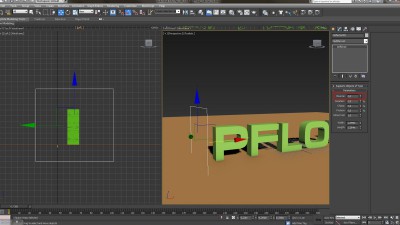
Step 13: In Left View create a Deflector and position it to the left of the Text Object (check screenshot). Set its Bounce value to 0. We will use the deflector later to send the particles to a new event.
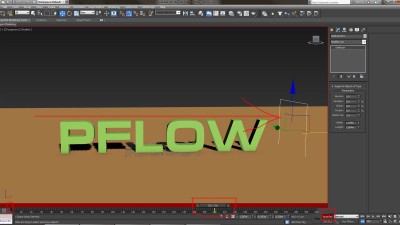
Step 14: Enable Auto Key and go to frame 200. Move the Defector to the right side of the text object.
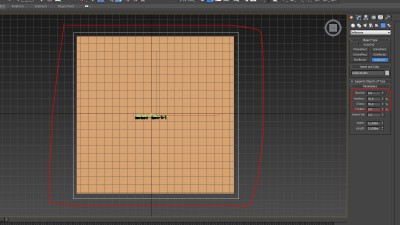
Step 15: In Top View create one more Deflector for the ground plane. Set the Bounce to 0,8, Variation to 30,0%, Chaos to 50,0% and the friction to 0,8.
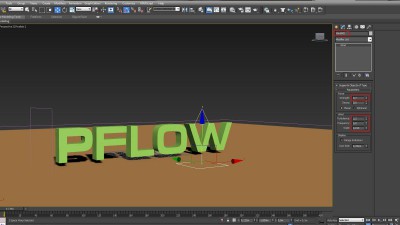
Step 16: Create a wind force pointing upwards. You have to play with the settings depending on your scale to get a satisfying result.
Step 17: Add a Drag Force and set the Time OFF to 10000. Set the Linear Damping for the X, Y and Z Axis to 99,9%. This force will slow the particles down in simulation.
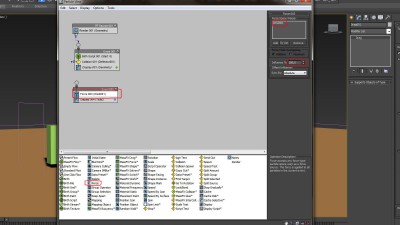
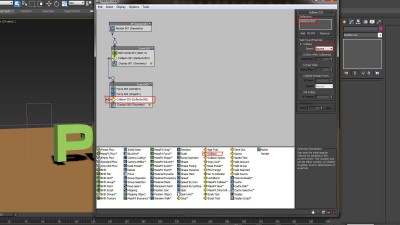
Step 18: Go back to Particle View (6 on keyboard) and add a Collision Operator. Add the first deflector to its Deflectors list. Set the speed to „Continue“. This Event will send the particles to the next Event.
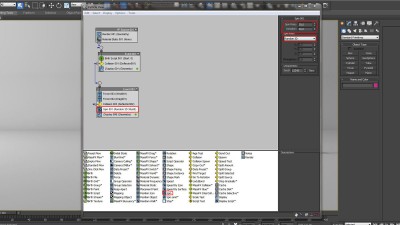
Step 19: Drag in a Force Operator to the Particle View to create a new Event. Add the wind force to the Force Space Warps list and set the Influence to 200%.
Step 20: Drag one more Force Operator to the same Event, add the Drag Force to its Space Warp List and set the Influence to 100%.
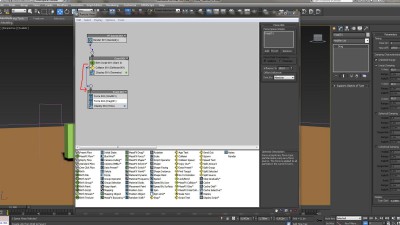
Step 21: Connect the output of the Collision Operator to the Input of the second Event to send the particles which collide with the Deflector to the next Event.
Step 22: Delete the Display Operator in the second Event. Clone the Display Operator of the first Event and paste it to the second event as an Instance.
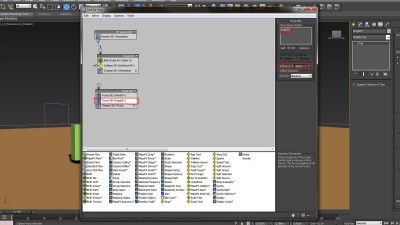
Step 23: Drag a Collision Operator to the second Event and add the ground deflector to its Deflectors list to bounce the particles off the floor.
Step 24: Drag a Spin Operator to the second Event, set the Spin Rate to 30,0 and the Variation to 60,0 to spin the particles in random directions.
We illuminated the scene with a basic studio setup and some photometric lights. Scene rendered with mental ray in 3ds Max 2013. Compositing done with After Effects. If you have any questions please feel free to contact us here.