Here you can find a tutorial about multijoints in Realflow. The tutorial will show you the usage of the fracture-tool in conjunction with rigid bodies and multijoints.
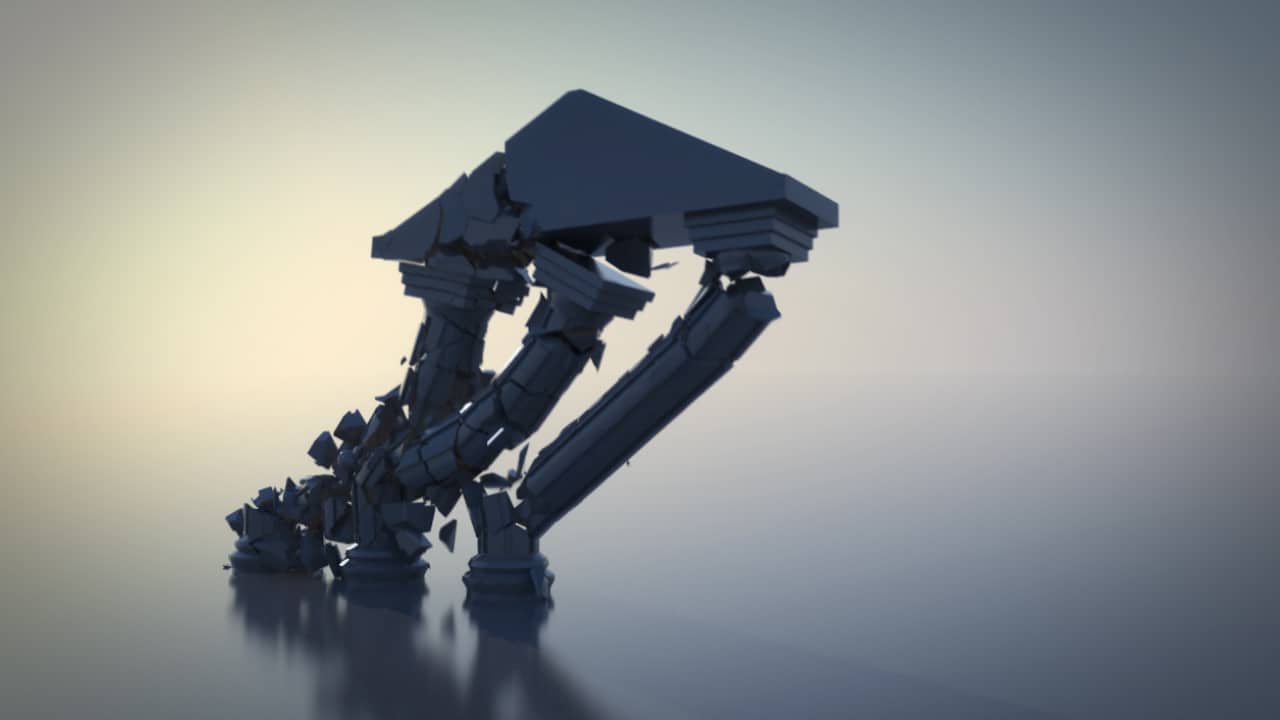
What we are going to create:
Let`s get started:
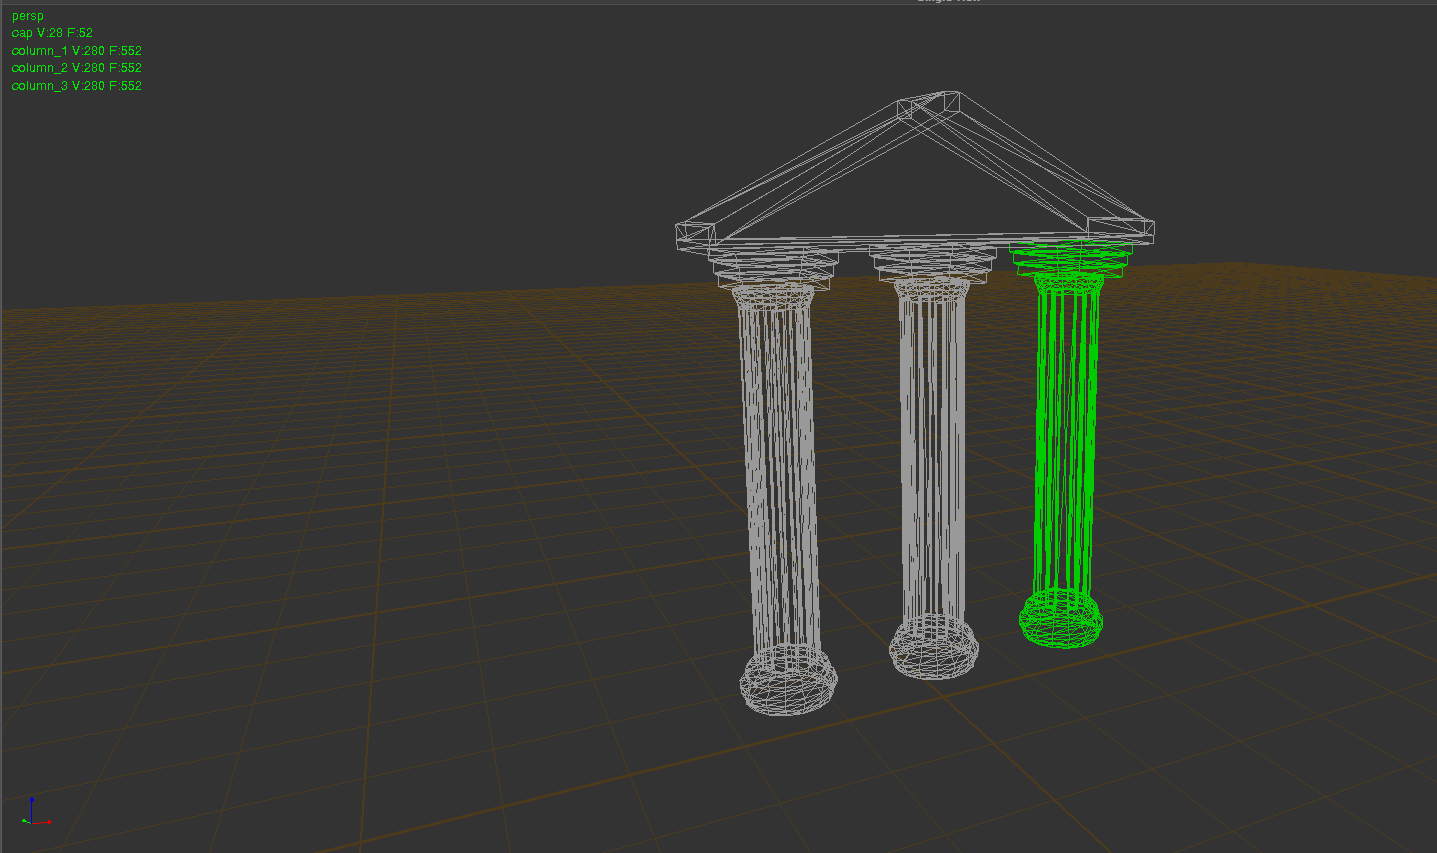
First we have to import the 3d model of the columns. You can download the models we used from our homepage (www.geminus3d.com) or create one on your own. We splitted the model into 3 columns and a cap to give the simulation slightly more realism and to have more flexibility when using the multijoints.Download models: |
 |
| Create a ground plane and scale it up to 4.0. |  |
| Next we will fracture the models into smaller pieces. First select the cap, go to „Tools“ and select „Fracture“. Set the „Rough number of pieces“ to 100 and click „ok“. Do the same procedure for the columns, but this time change the number of pieces to 50 and type differert random values for „seed“ to give the fractures more randomness between the columns. |   |
| We don`t need the initial objects for simulation and have to either delete them or make them inactive and hidden. We prefer deactivating them to use them as reference or fracture them again, if we want to. Also we grouped the objects for better overview. Just select the objects you want to arrange, right-click and choose „group“. |  |
| Select the group of fragmented objects and change dynamics to active rigid bodies. For the ground-plane choose passive rigid body, that fragments can collide with the ground. |  |
| In the rigid body rollout change friction of all objects to 0.6 and elasticity to 0.1. |  |
| Add a gravity-daemon. |  |
| If we now would simulate the scene, we would get something similar to that: (click „8“ and „9“ to change between wireframe and shaded view) | |
| Because we want the fragments „stick“ together until the columns get hitten by an object (in our case a simple sphere), we have to make use of „multijoints“. Go to objects rollout and create a multijoint. |  |
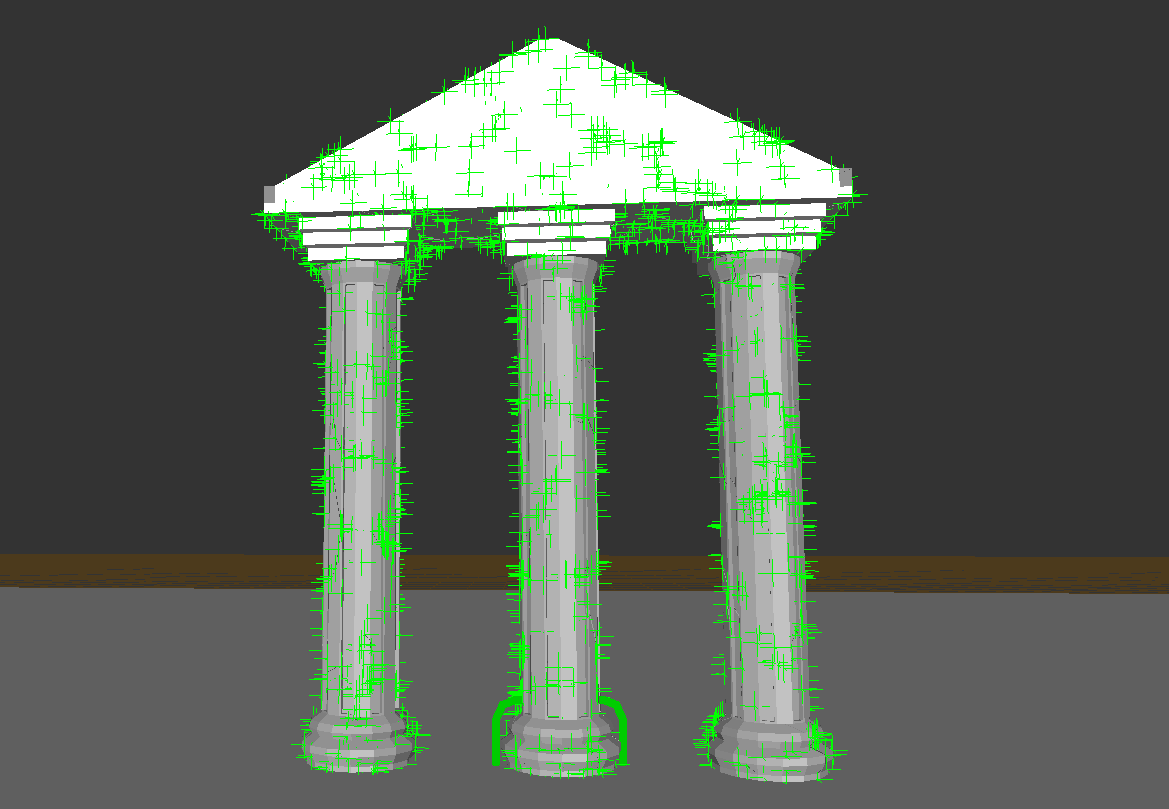
| In creation-rollout change „Objects A“ and „Objects B“ to „column_1_fractured01“ and hit the „Create/Recreate“-button. Create 3 more multijoints and change „Objects A“ and „Objects B“ to „column_2_fractured01“, „column_3_fractured01“ and „cap_fractured01“. Reset the scene. You should see something like that: |  |
| The fragments would stick perfectly together, if we simulated the scene now. We want the fragments to break when a certain condition is reached, so we have to set up a few more things. Select all Multijoints, go to force-rollout and change „Force max mode“ to „Constant limit“. Change „@Max force“ to 140000 and „@Max force random“ to 40000. In Collisions-rollout change „Enable if break“ and „Break if max force reached“ to „yes“. This means that the connection between the individual fragments will break, when a force of 140000 is reached. |  |
| Now its time to add a sphere, which we will shoot into the columns to break them into pieces. Create a sphere, locate it beside the columns and change the scale to 0.3 for xyz. Also change dynamics to „Active rigid body“, „mass“ to 1000 and „object friction“ to 0.6. To give the sphere some initial motion set „Velocity“ to 20.0 in x-axis and 5.0 in z-axis. |  |
| Save the scene and click simulate. | |
| When we have a closer look at the simulation above, we still have some problems to solve. The cap isn`t connected with the columns and also the columns don`t interact correctly with the ground plane. To achive better results we have to add some more multijoints to connect those objects. Add one more multijoint and add the three columns to „Objects A“ and the cap to „Objects B“. Again set „Force max mode“ to „Constant Limit“, „Max force“ to 140000 and „Max force random“ to 40000. Also set „Enable if break“ and „Break if max force reached“ to „Yes“. |  |
| The last thing we have to do is setting up the connection between the columns and the ground plane. Add another multijoint and use the same settings like the one above, but this time replace „Objects B“ with the ground plane. Also set „Contact distance search“ to 0.005 and „Max force“ to 280000. |  |
| Save the scene and click simulate. If you have set up everything correctly, you should end up with something like that: |
In the final animation we used more fragments and changed framerate to 50 fps. For changing framerate, click the arrow next to the „Simulate“-button, go to options and change the FPS output. In options panel you can also change the Rigid Body Solver quality to medium or high, if you have problems with instable simulations.
If you have any questions, please feel free to contact us here.


